How to Correct a Mistake on a Check: Step-by-Step

Commitment to Our Readers
GOBankingRates' editorial team is committed to bringing you unbiased reviews and information. We use data-driven methodologies to evaluate financial products and services - our reviews and ratings are not influenced by advertisers. You can read more about our editorial guidelines and our products and services review methodology.

20 Years
Helping You Live Richer

Reviewed
by Experts

Trusted by
Millions of Readers
Paper checks, though not used daily as much as they used to be, are still a necessary part of making payments and managing your checking account. Online banking has made digital transactions more convenient and commonplace, however, there are still certain times you will need to know how to fill out a check correctly.
Explore how to correct a mistake on a check below.
How To Correct a Mistake On a Check: Step-by-Step
You need to pay rent and you’re on your last check in the book. You start filling it out when you suddenly realize you’ve made a mistake. Don’t panic, as many mistakes are fixable on a check without having to void it or start a new check. Here are steps you can take if you’ve made a mistake while writing a check.
- Cross out the mistake by drawing one neat line through the middle of the mistake. Do not scribble it out or black it out as banks still need to see why the correction was made. Essentially you don’t want to hide the error but rather show what mistake was made and why it was corrected. So keep it neat and legible to avoid having it get rejected by the bank.
- Write the correction above the crossed-out mistake. Make sure to keep the writing small, easy to read and neat, so as to not write over other parts of the check or make it hard to see.
- Initial your correction to authenticate it. Without your initials, the correction and the check will likely not be accepted by the bank so make sure you don’t skip this step. If you make more than one mistake, you must initial each correction.
- Alert teller to your corrections. If you are depositing the check in person, make sure to alert the teller of any corrections you’ve made. If possible, you could also accompany the person you wrote the check to when they deposit it, in case you need to clear up any confusion on the check with the bank, though this likely won’t be necessary.
- If all else fails, you can opt to void the check. If you’ve made a mistake or multiple mistakes that don’t seem easily fixable by crossing out the error, it may be best to void the check and start over. Voiding any check you don’t want to go through by writing “void” in large letters over the front of the check is crucial so be sure to do this before starting another.
Filling Out a Check: What Info Is on a Check?
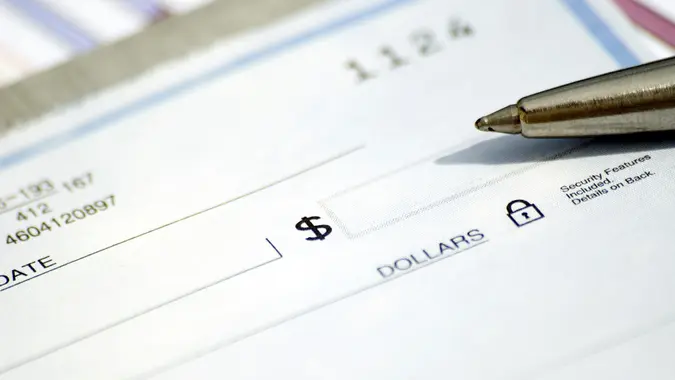
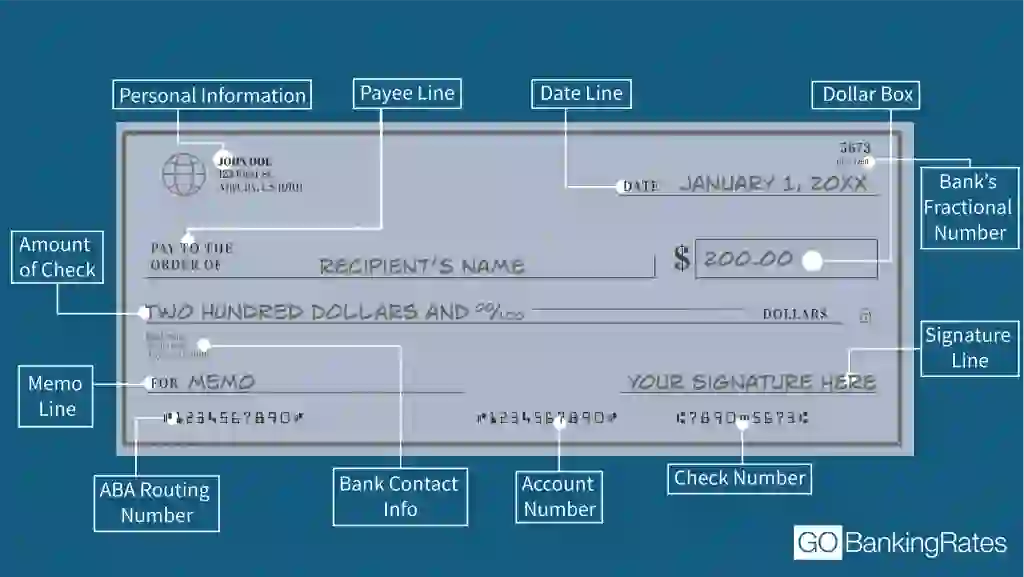
If you have a blank check in front of you it is a good idea to know how to fill it out, but also how to correct any mistakes you make along the way. Before you get started, try to familiarize yourself with the different parts of a check listed below.
- Your personal information: In the upper left-hand corner you’ll find your personal information, which will vary depending on the specifications you gave your bank, but often includes your name and address.
- Check number: The checking number for the specific check you are filling out can be found in the upper and lower right corner of the check, which helps you keep track of what check was used for what expense.
- Date line: The upper right corner of the check is where you date the check or right a future date that the check can be cashed or deposited.
- Pay to the order of line: The payee line designates who you wrote the check to and who can receive the money.
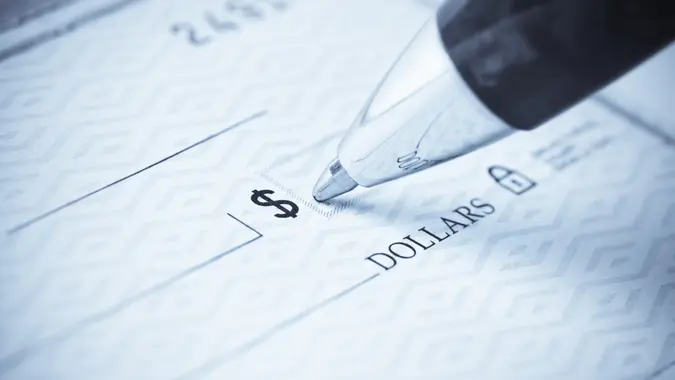
- Dollar amount box: This is the box with a dollar sign in it where you fill out the amount of the check numerically.
- Dollar line: This line is located underneath the payee line and dollar amount box and is where you write the dollar amount in words.
- Memo line: The line in the bottom left corner of the check is the memo line and this is where you fill out the reason for payment.
- Signature line: This is located in the bottom right-hand corner and it is where you sign the check.
- Your bank’s routing number: The first set of numbers in the bottom left of your check is your bank’s American Banking Association, or ABA, routing number which tells banks where to find the funds for the check you’ve written.
- Your bank account number: The second set of numbers after the routing number is your bank account number which lets the recipient know where the funds are coming from.
- Endorsement line: This is located on the back of the check and it is where the recipient signs so they can cash or deposit the check you’ve written.
Can You Use White Out on a Check?
No, it’s not a good idea to use white out on a check. If you made a mistake, neatly cross out the mistake with one line and write the correction above the mistake. Unfortunately, banks might flag white out on a check as fraud.
Can You Cross Out on a Check?
Yes, you can neatly cross out small errors with a single line. Once crossed out, you can write the correction nearly above the mistake. Don’t forget to initial this correction before sending your check out.
If you make a mistake that you cannot neatly fix, it’s best to void the check and start fresh.
Here’s a look at when crossing out on a check is acceptable.
| Dos | Don’ts |
|---|---|
| Use a single line to cross through the mistake | Scribble through the mistake |
| Write the correction neatly above the crossed out error | Write the correction anywhere else on the check |
| Initial the mistake |
Can You Write a Check in Blue or Red Ink?
Generally, it’s best to write checks in blue or black ink. Although you can technically use red ink, it’s frowned upon because it can alert banks to potential fraud issues. Plus, the standard blue and black ink scans more easily.
The same holds true for other colors. You could use pink or purple ink. But unusual colors may prompt additional scrutiny from the bank to avoid scanners.
What to Do If the Name Is Spelled Wrong on a Check
If you receive a check with your name spelled incorrectly, you can endorse the check by writing the incorrect spelling and signing your name with the correct spelling.
If you write a check with a misspelled name, neatly cross through the mistake with a single line. Write the correctly-spelled name above the mistake and initial the correction.
How to Write Changes on a Check
If you need to write changes on a check, start by drawing a single line through the error. From there, you can write the correction in neat letters or numbers above the mistake. Here are some tips to ensure your check is still valid after the changes:
- Keep things neat: Don’t leave a mess on your check. Neatly correct the mistake with clear penmanship to avoid any issues.
- Avoid white out: It’s not a good idea to use white out on your checks.
- Avoid colorful ink: Although it’s fun to write in different colors, avoid writing checks with anything other than black or blue ink.
Final Take To GO
Most mistakes you make while filling out a check are fixable so don’t worry if you’ve made a small error. Simply correct it by following the steps above and your check should go through without issue. Make sure to keep track of all transactions as you would normally in case the bank has any questions.
Sarah Sharkey contributed to the reporting of this article.
 Written by
  Edited by


